

Speaking of set-up, let’s break down everything you need to know about how to install the Jolie Filtered Showerhead. First things first: I’m no plumber (shocking, I know). Fear of installation led me to call in for backup (from a friend who also is not a plumber)—but truly, I could have done this completely on my own.
To install the Jolie, you’ll simply need to unscrew your existing showerhead (put it in a safe place if you’re a renter!) and follow the brand’s instructions carefully. The only tools you’ll need are the wrench and plumbing tape, which are neatly provided in the box.
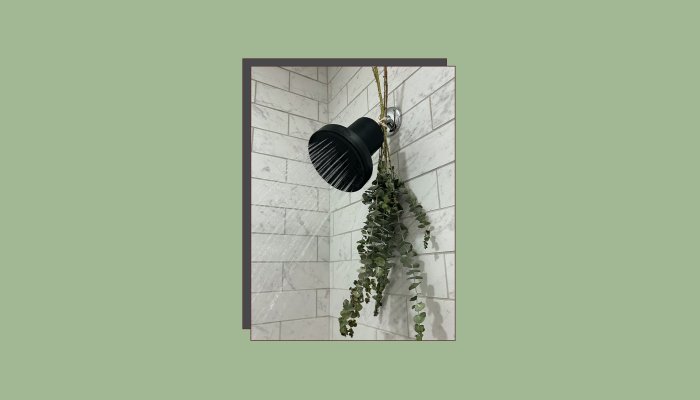
The entire installation process took less than 10 minutes, and the most difficult part was getting the showerhead screwed on tightly enough to eliminate drippage. This is where the plumbing tape and the wrench come into play. Hint: You’ll use more plumbing tape than you might initially think.
Once you get the Jolie screwed on securely, you’re home free. That is, of course, until you need to swap out the filter in three months. Pro tip: Sign up for the subscription to receive the filters every 90 days (you’ll save money on the initial purchase this way, too).